WYSIWYG Tutorial

This tutorial will cover the user friendly box you'll use often while creating and editing pages. The acronym WYSIWYG means What You See Is What You Get.
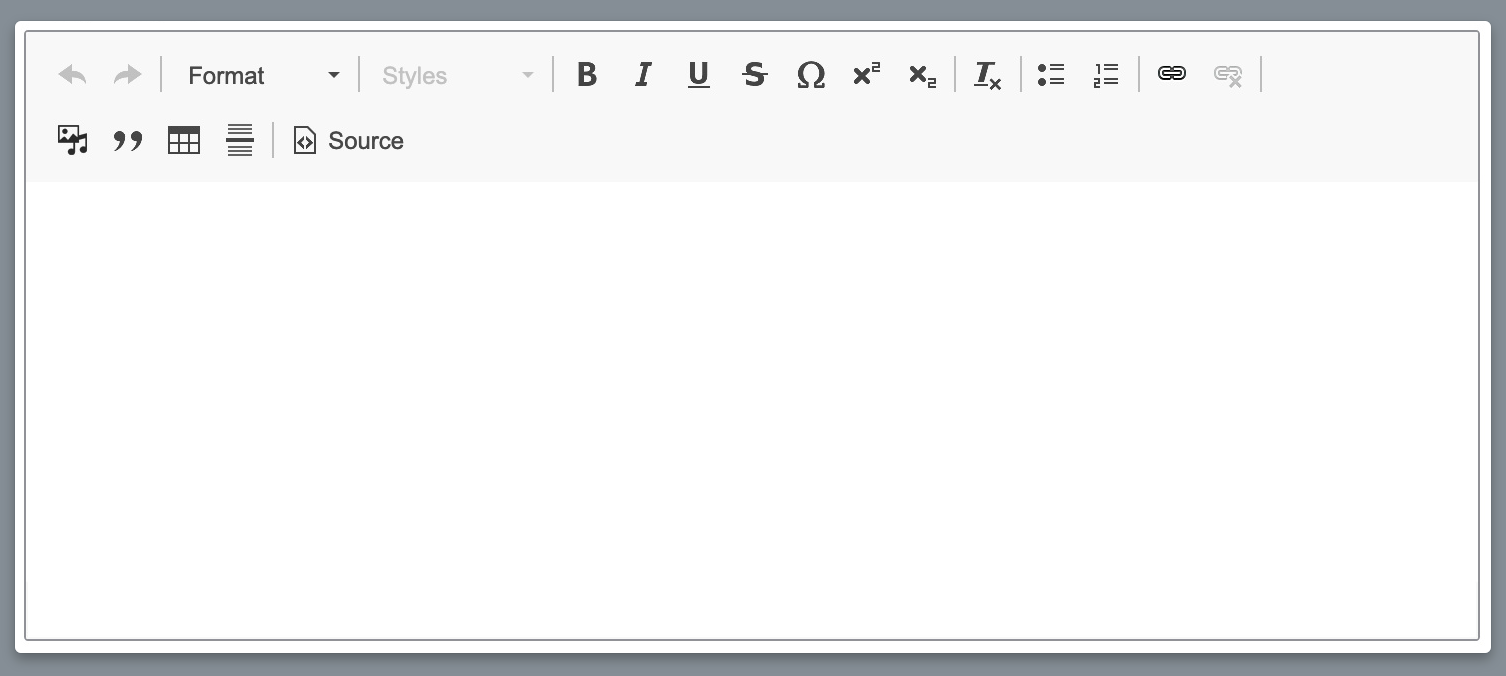
Example of a WYSIWYG input field:
HOW TO
Step 1: To begin adding a file, either a photo a video or document, you will first select the image/musical note icon above the body text input field.

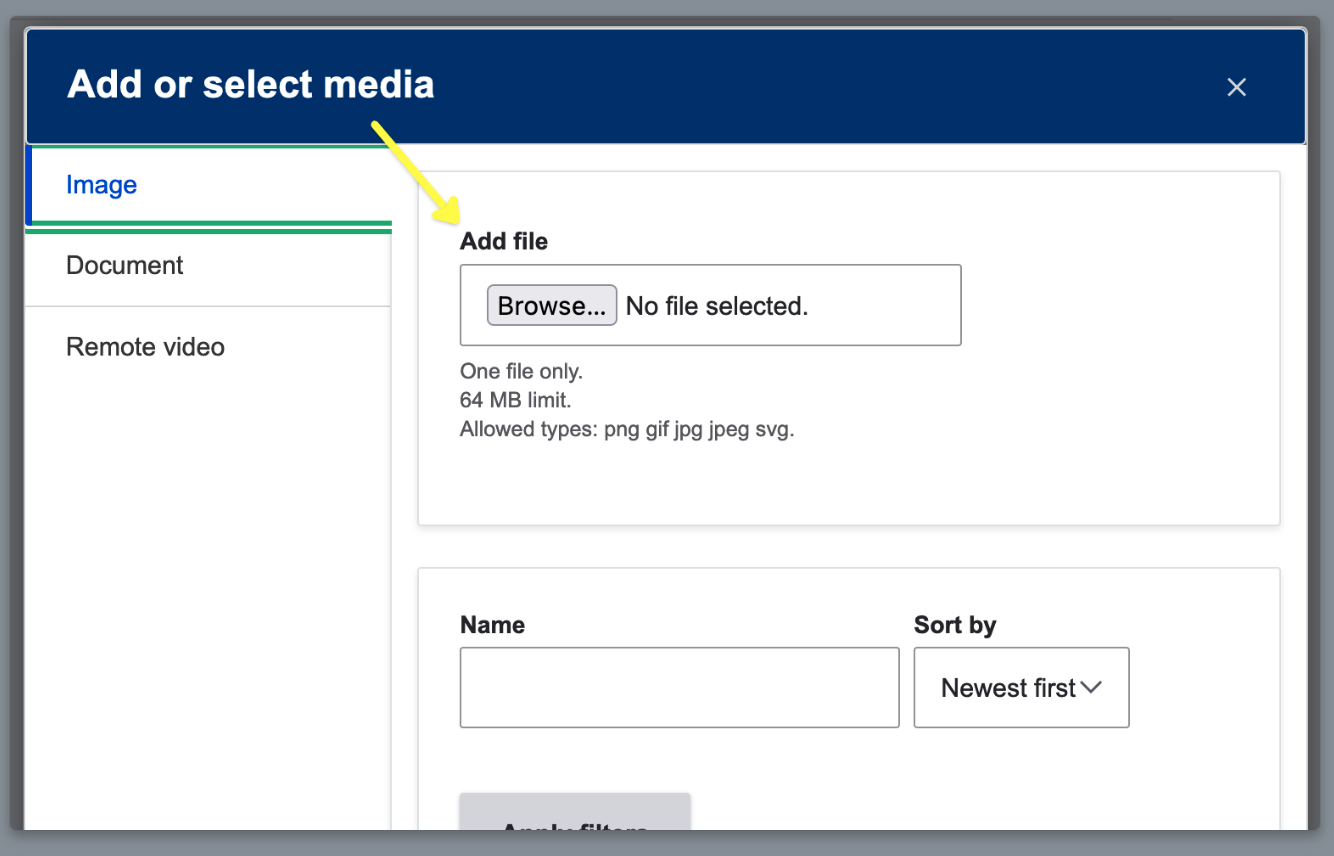
Step 2: If you're uploading a new photo, select the "Browse..." button and choose a photo from your computer to open.
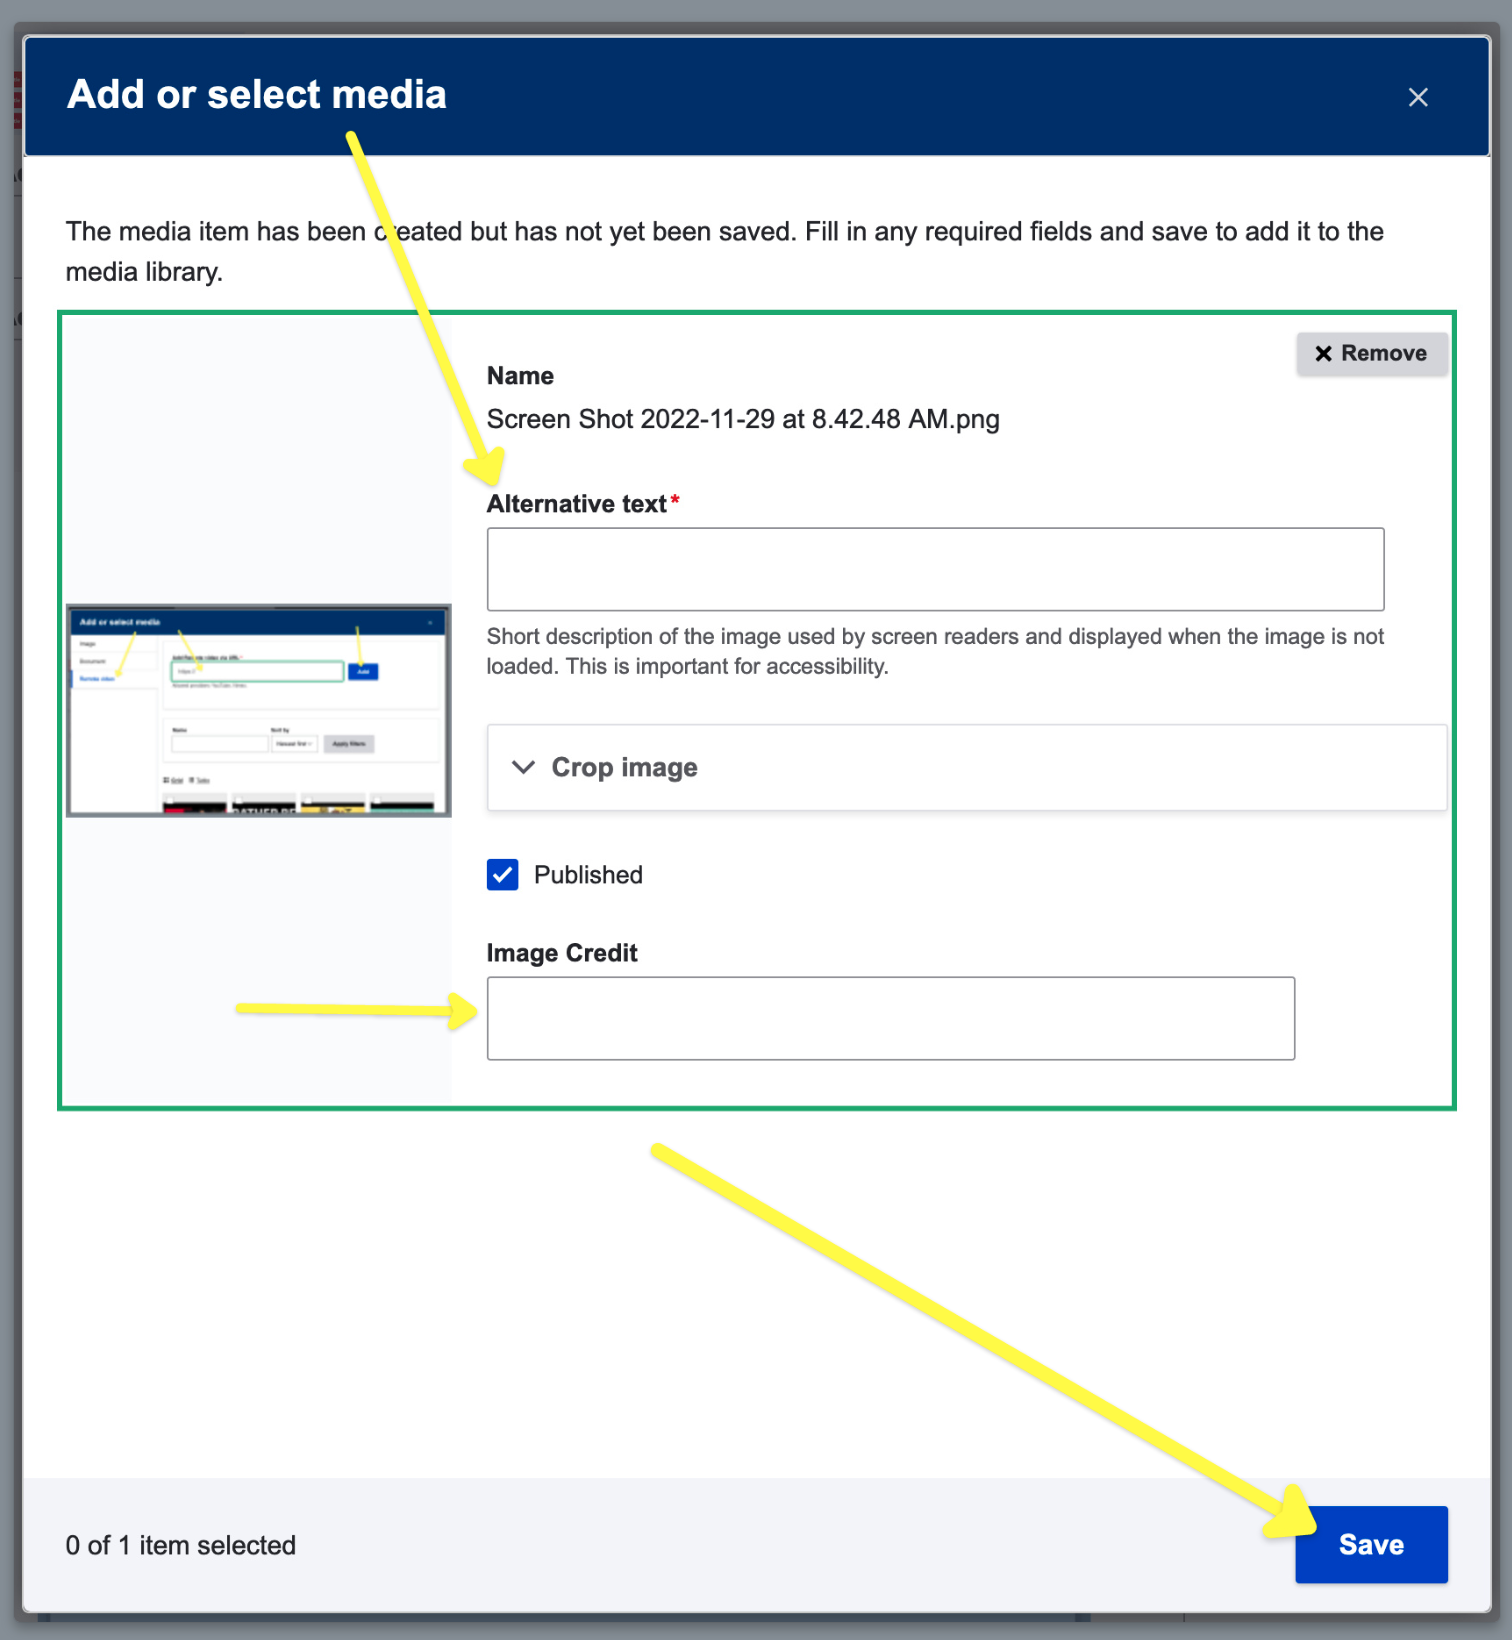
Step 3: On the next screen, add the required alternative text to help screen readers understand what the image depicts. Then select the blue "Save" button.
Step 5: Your image should now have a blue check box next to it, select the blue button "Insert selected."
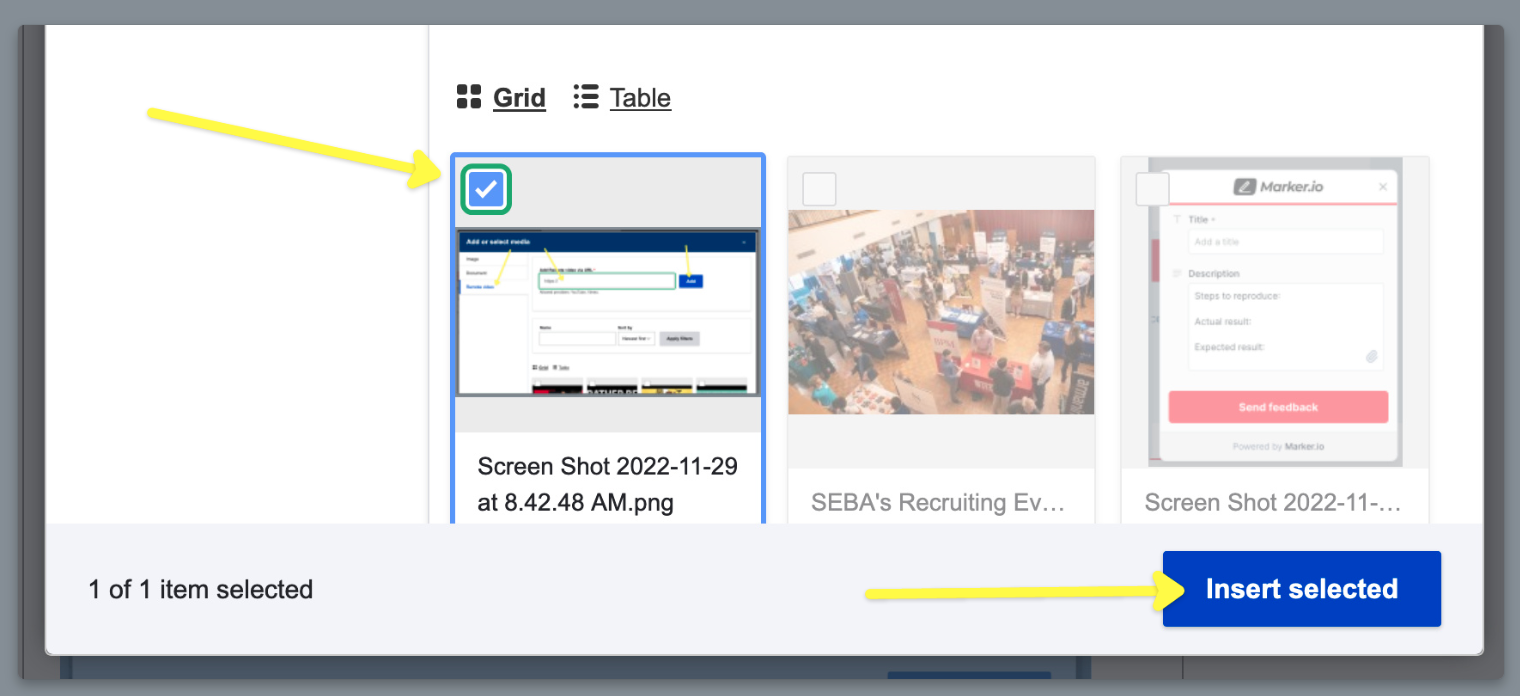
DONE! Congrats, you have successfully added an image.
Step 1: To begin adding a file, either a photo a video or document, you will first select the image/musical note icon above the body text input field.
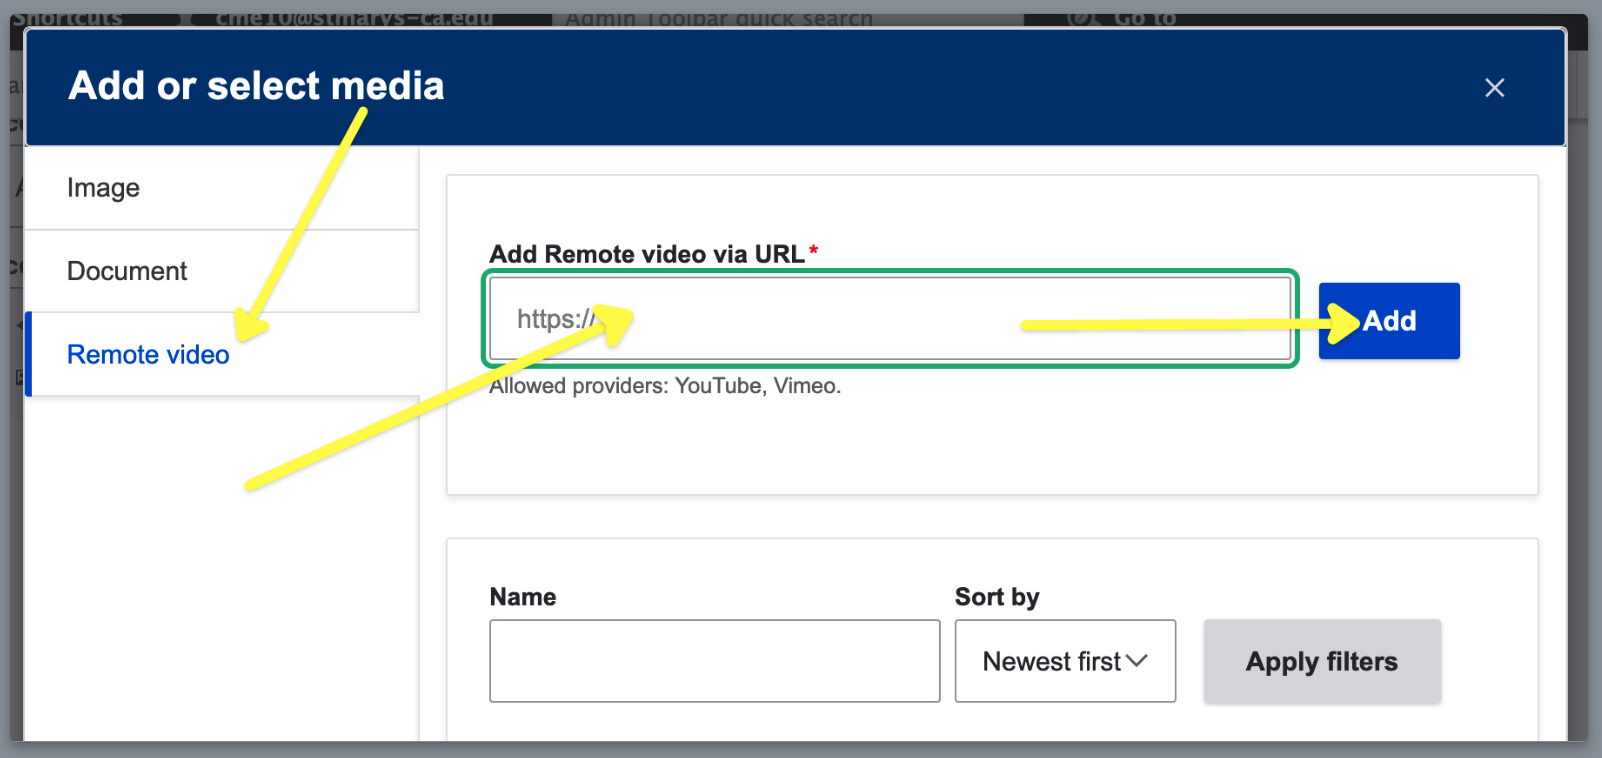
Step 2: If you're uploading a new video, select the left side tab "Remote video" and enter the URL in the input field, then select "Add."
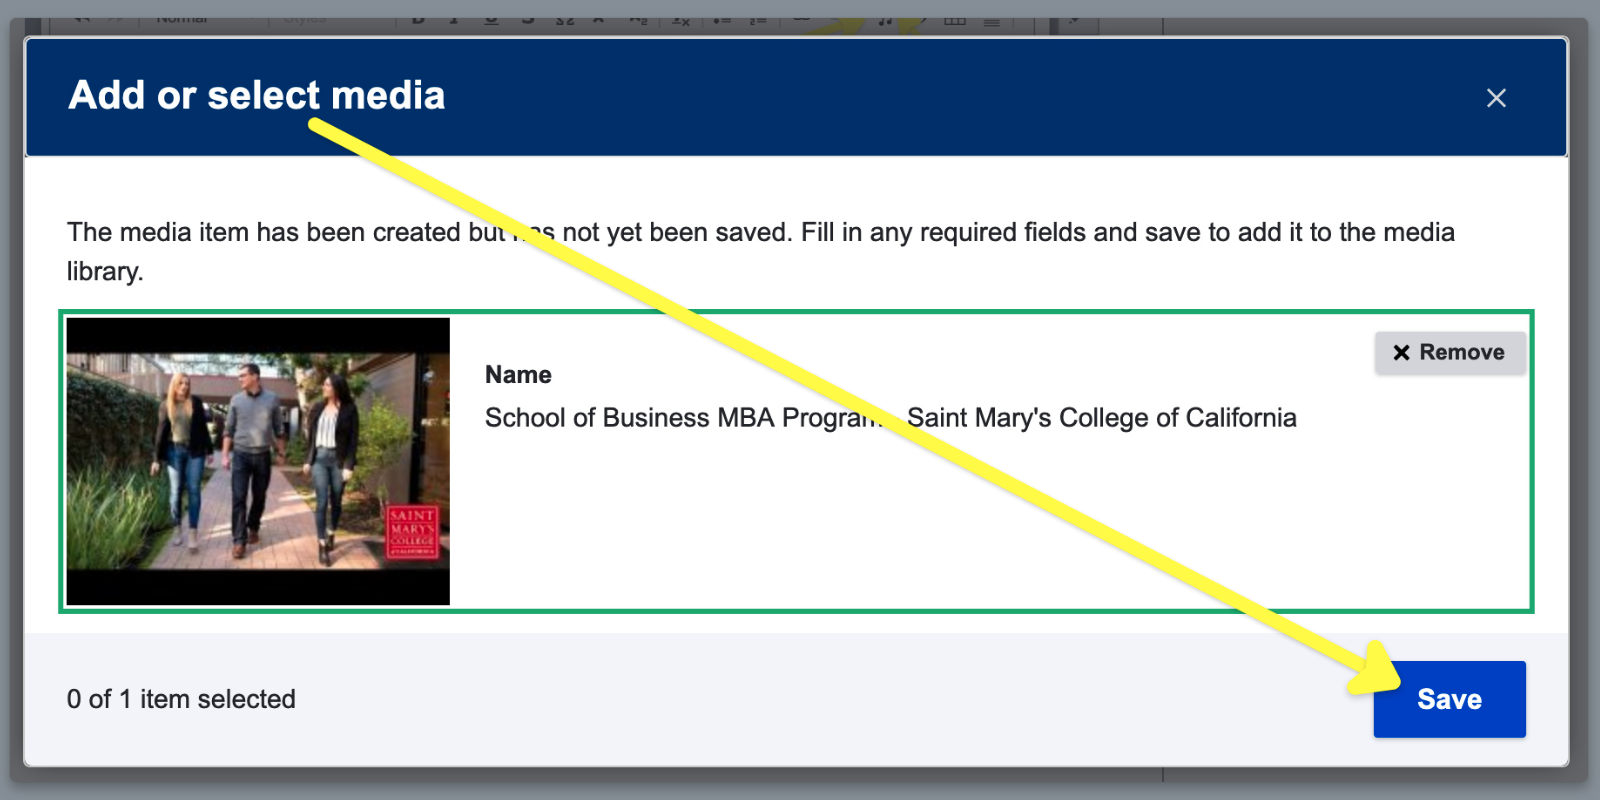
Step 3: On the next screen, simply select "Save" on the bottom right.
Final Step: On the next screen, you'll see your video has been added and has a blue checkbox. Now select the blue "Insert selected" button to add the video to the WYSIWYG input field.
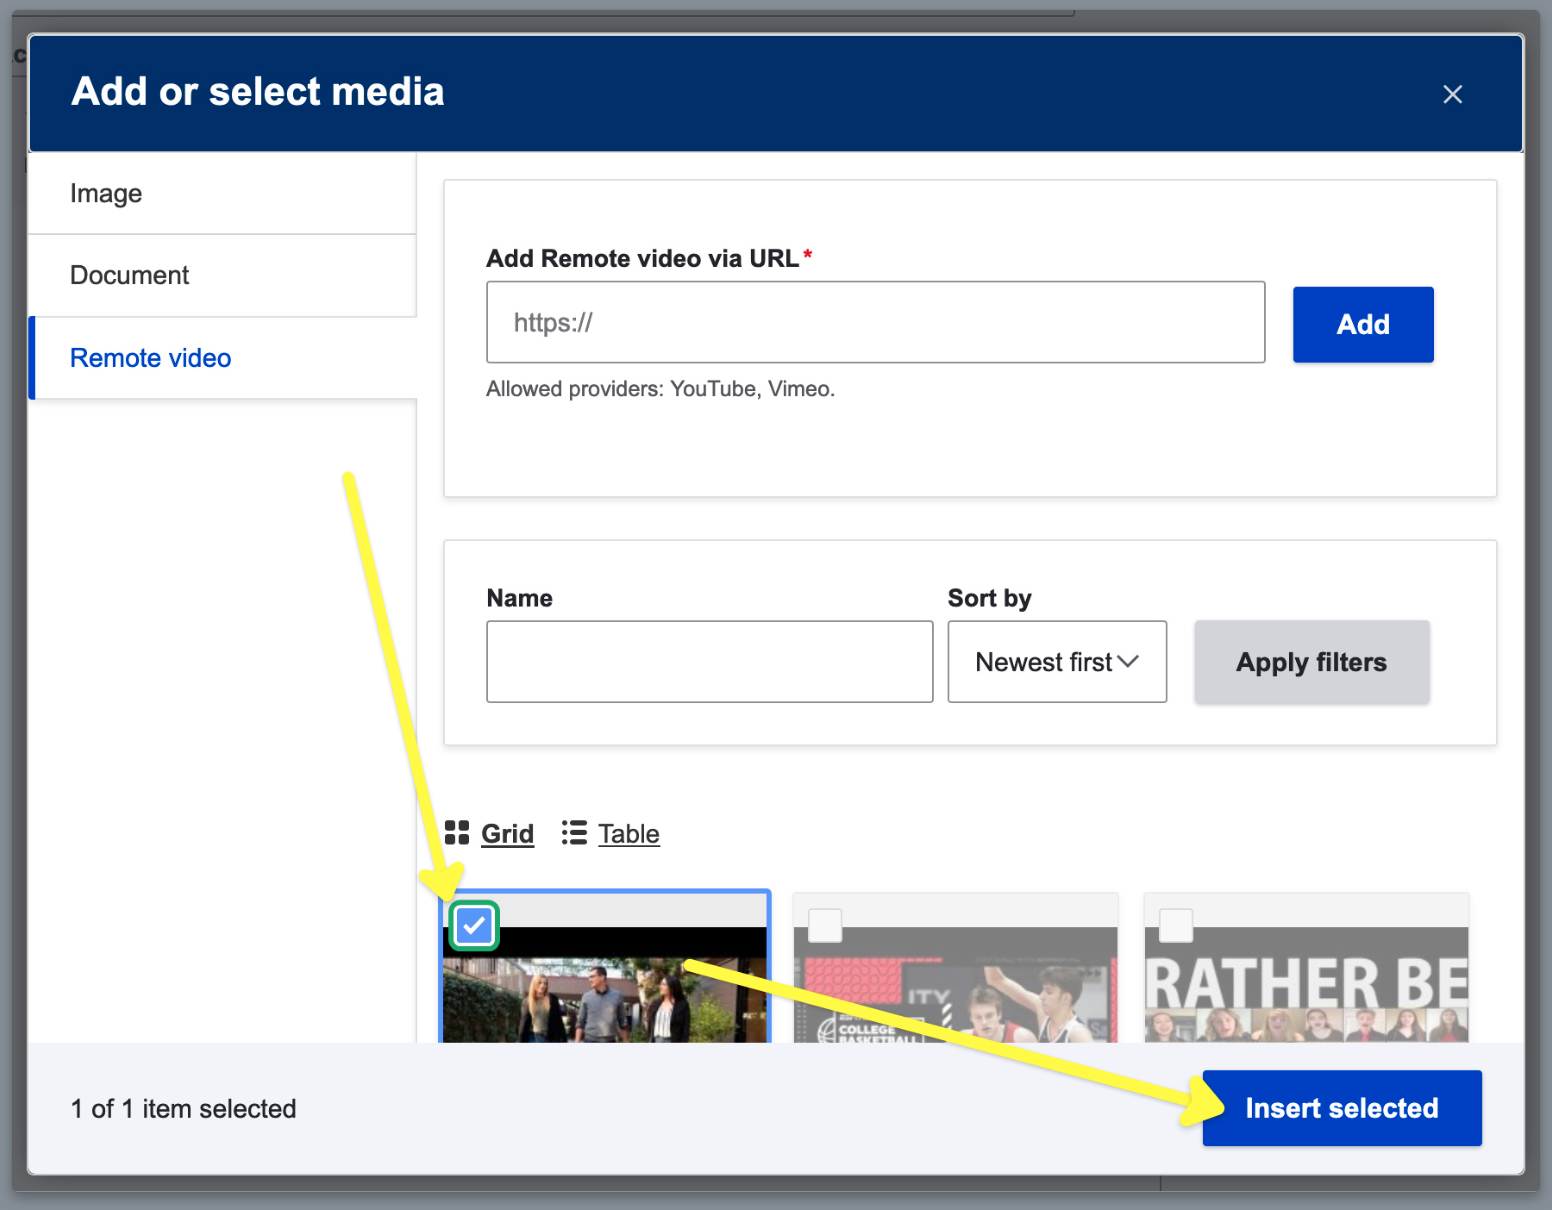
Video Added!
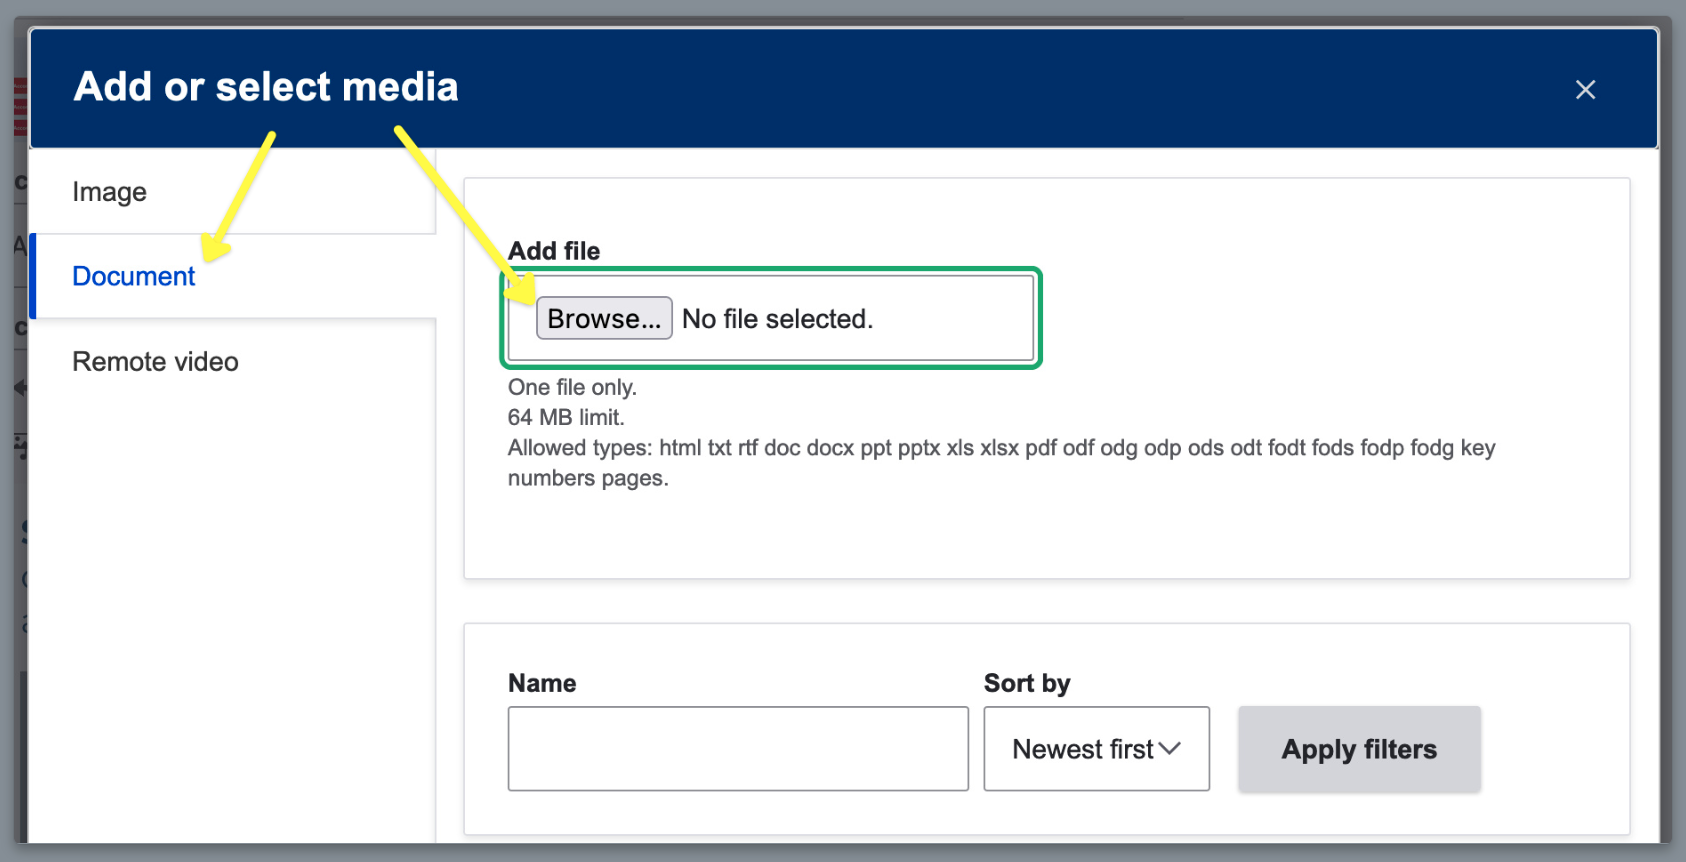
Step 1: To begin adding a file, either a photo a video or document, you will first select the image/musical note icon above the body text input field.
Step 2: If you're uploading a new document, select the left side tab "Document" and select the "Brose..." button to upload your document.
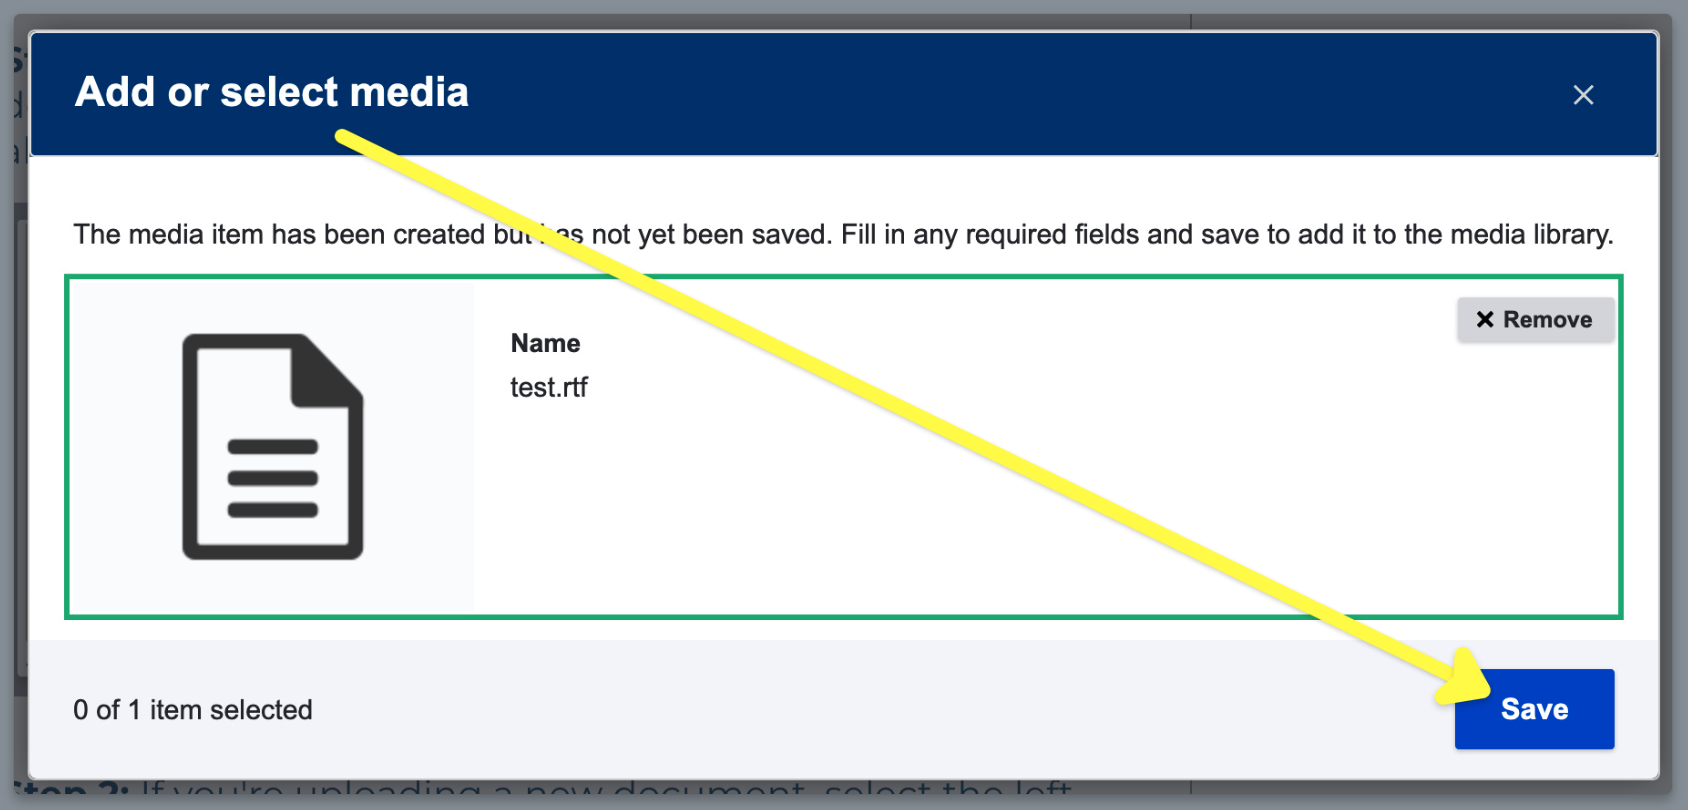
Step 3: On the next screen, select "Save."
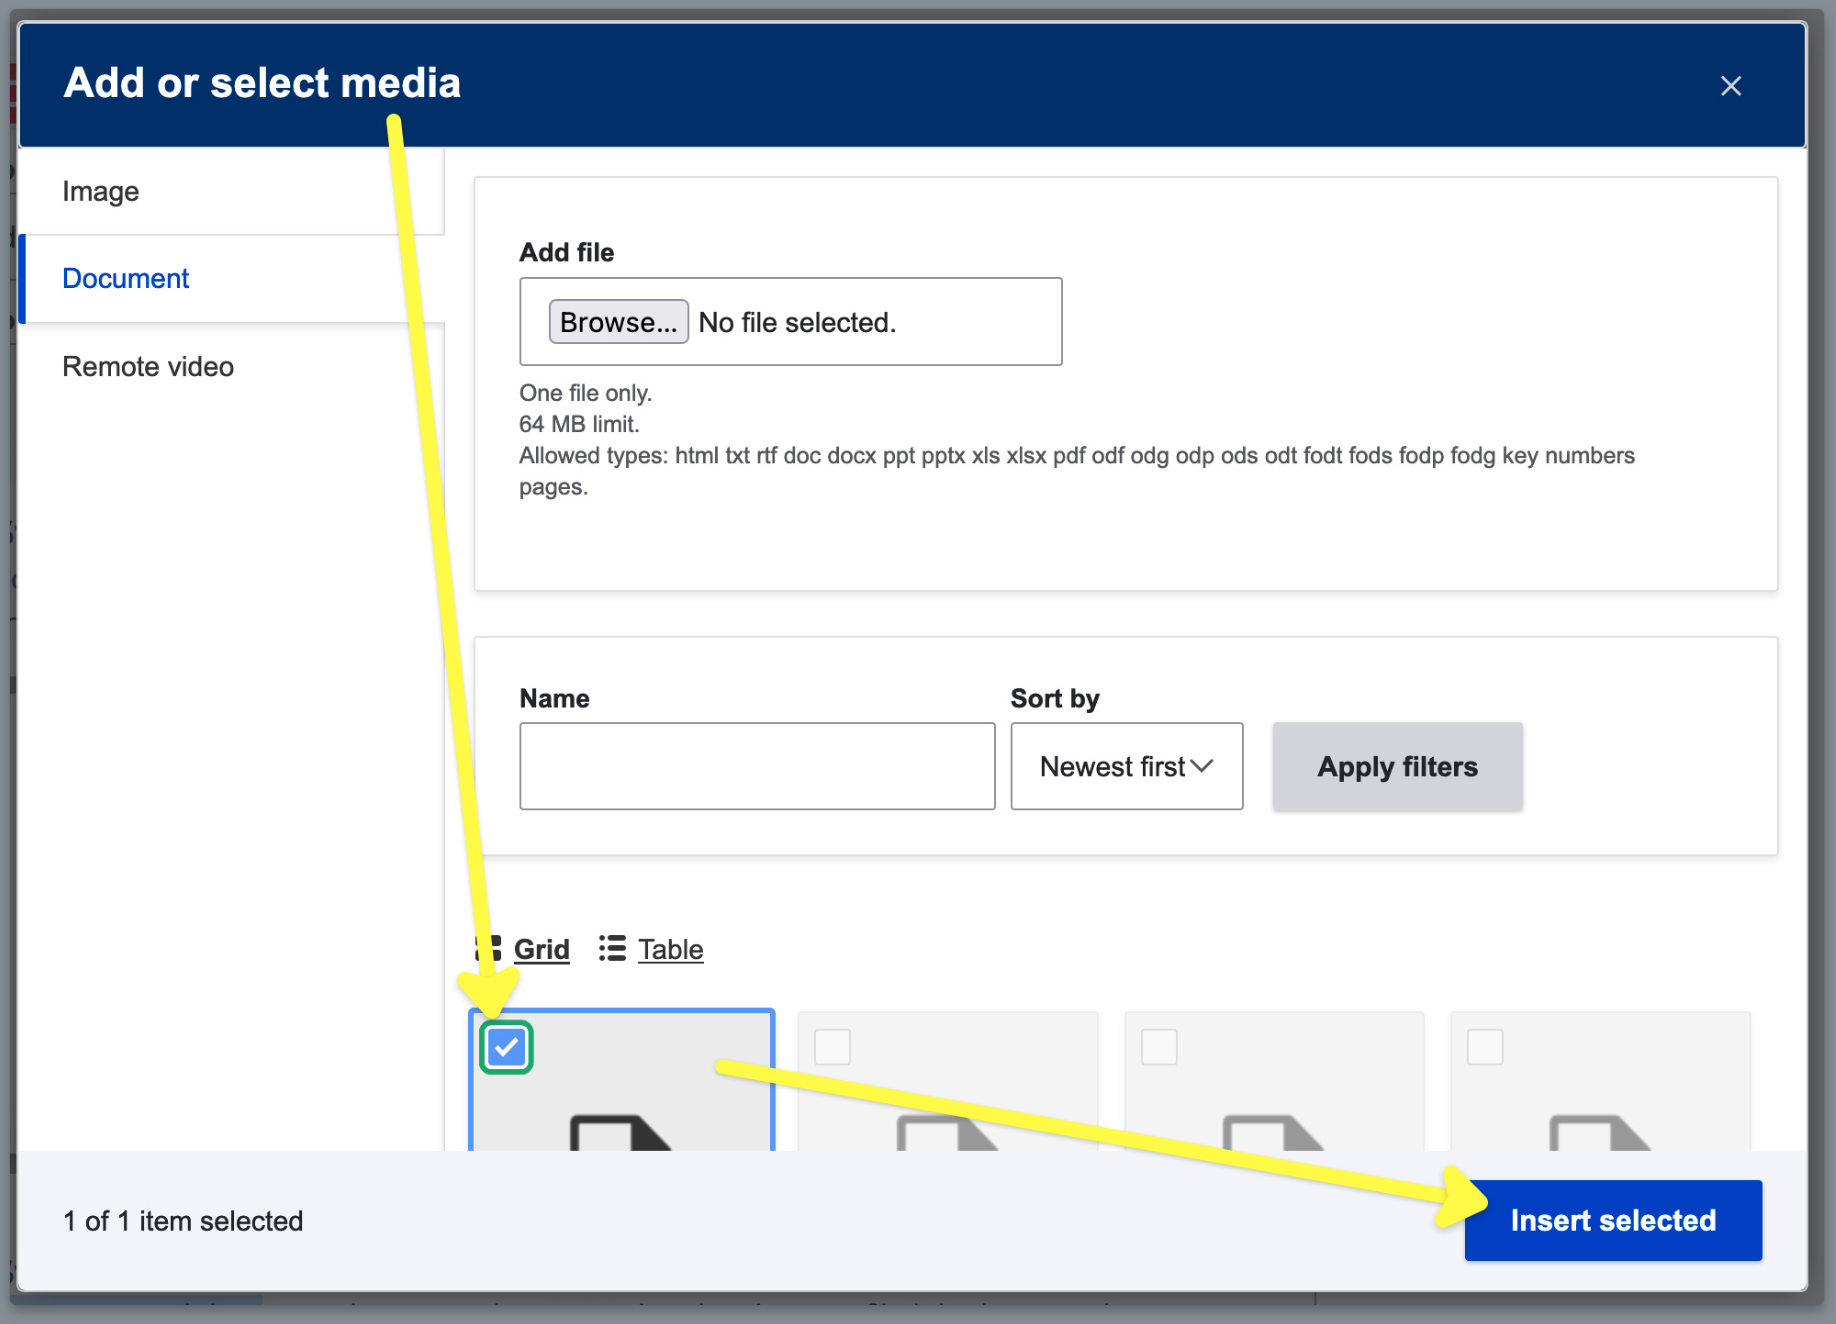
Final Step: Your document is now selected (blue check box) and ready to be added to the page, use the blue "Insert selected" button to complete the upload.
Document added!
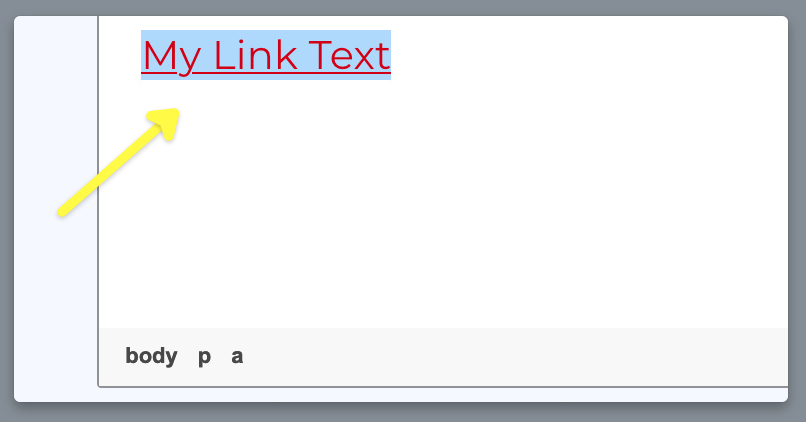
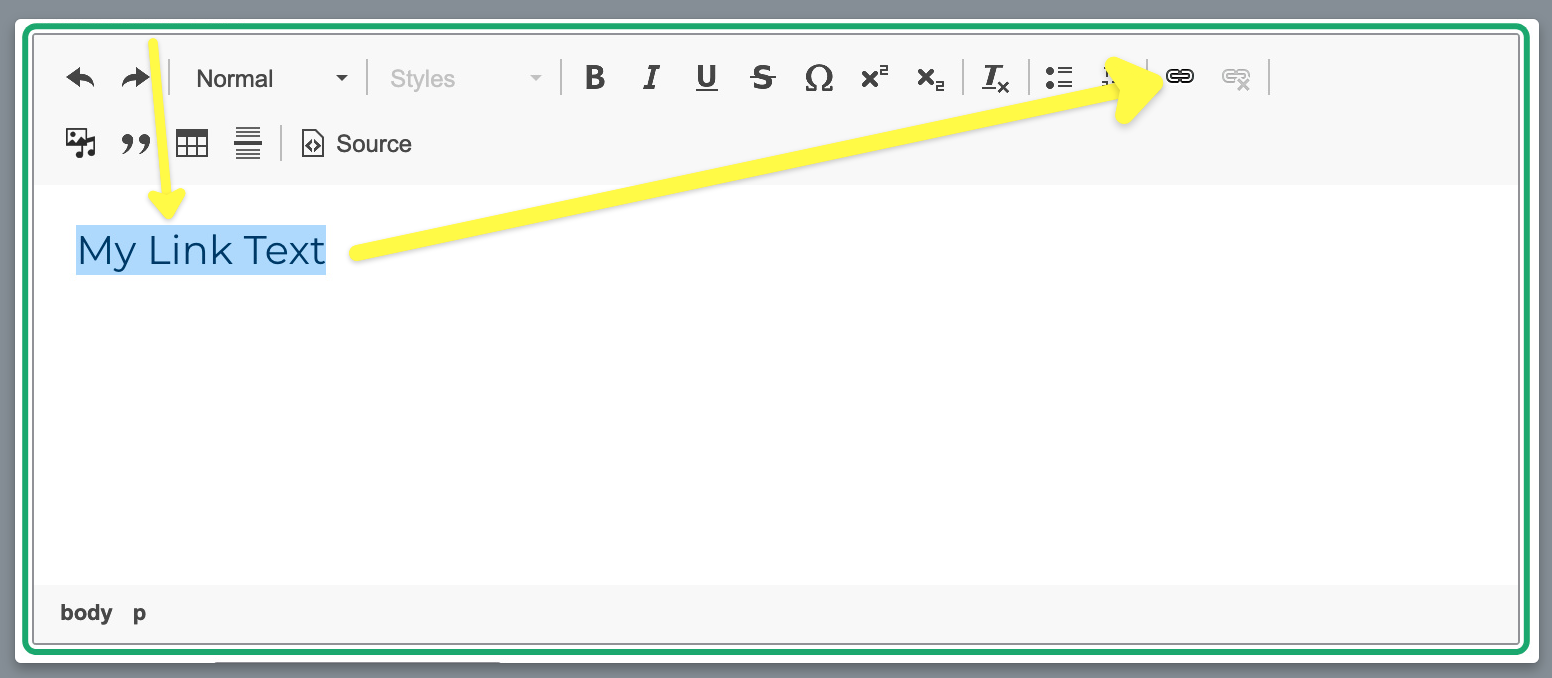
Step 1: Type the text you want to add an internal (stmarys-ca.edu) or external link to. Then select all the characters you want to link to and click the icon that looks like a chain "link" in the top right.
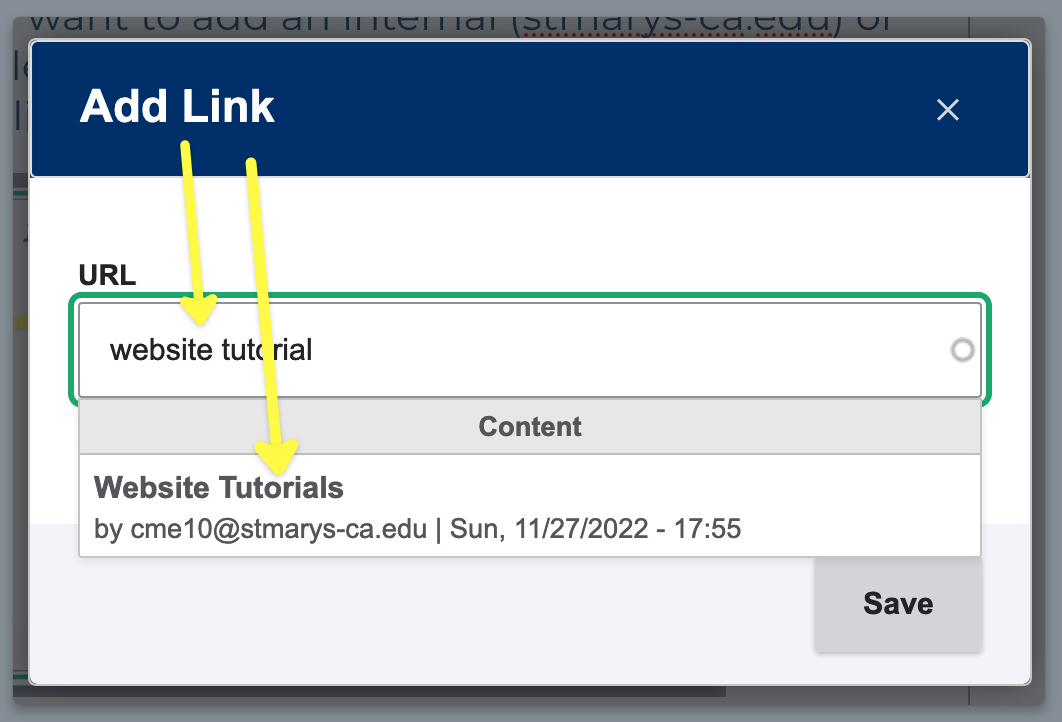
Step 2: Copy and paste an external url OR type the name/title of the internal (stmarys-ca.edu) page you would like the selected text to link to and select the page from the drop down.
Final Step: Select "Save" and view your new link inside the WYSIWYG input field.